


How to Remove Subfloor: A Step-by-Step Guide for Homeowners
Learn how to remove subfloor the right way. Step-by-step guide for DIY homeowners, including tools, tips, and when to call a pro.
If youre planning a major flooring renovation, you may discover that the subfloor underneath your carpet, hardwood, or tile has seen better days. Water damage, mold, rot, or simply uneven surfaces are all good reasons to replace it. But knowing how to remove subfloor properly is crucial to ensure your new floors last and look great.
In this guide, well walk you through when and why you might need to remove your subfloor, the tools youll need, and step-by-step instructions to do the job right even if youve never tackled this type of project before.
Why Remove a Subfloor?
The subfloor is the layer of plywood or oriented strand board (OSB) attached directly to your floor joists. Its job is to provide a stable, flat base for your finished flooring.
Common reasons to remove and replace a subfloor include:
-
Water damage: Soft, swollen, or moldy spots.
-
Rot or decay: Especially common in kitchens, bathrooms, and basements.
-
Uneven surfaces: Sagging or high spots that make flooring installation difficult.
-
Pest damage: Termites or carpenter ants can weaken the subfloor.
If you notice squeaking, bouncing, or visible signs of damage, its worth inspecting your subfloor before installing new flooring.
Tools and Materials Youll Need
Before you start, gather the right tools and safety gear:
-
Pry bar or crowbar
-
Hammer or mallet
-
Circular saw (with blade set to subfloor thickness)
-
Drill or impact driver
-
Utility knife
-
Safety goggles, gloves, and dust mask
-
Tape measure and chalk line
-
Claw hammer or nail puller
You may also need replacement subfloor panels, screws, and construction adhesive if youre installing new material immediately after removal.
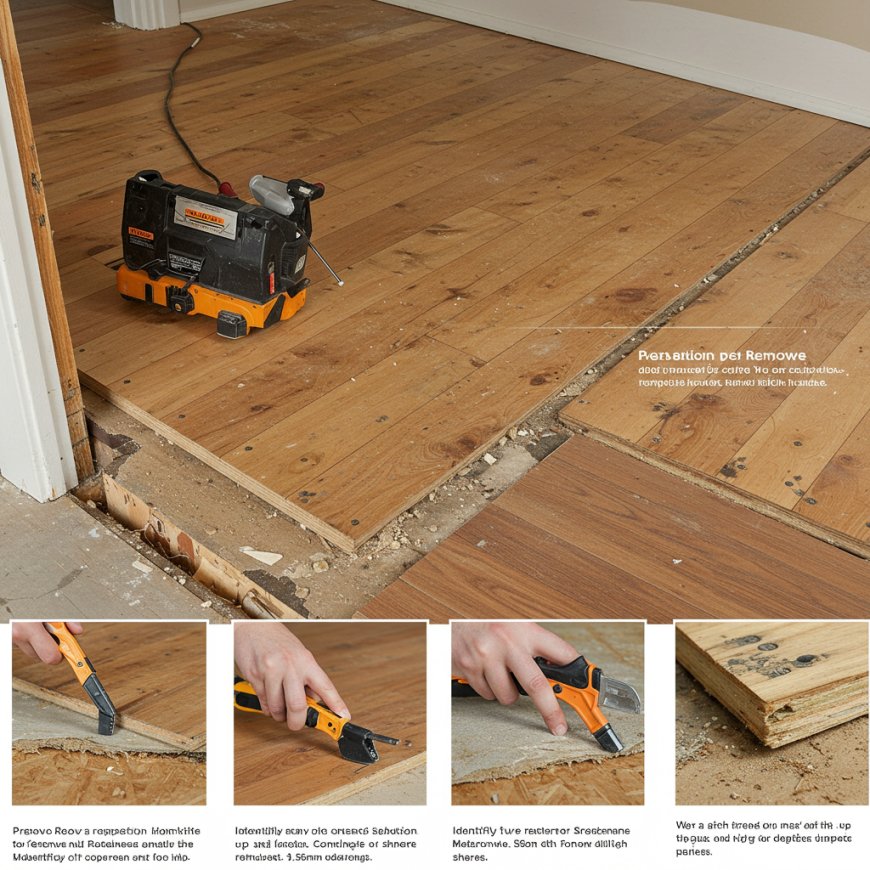
How to Remove Subfloor: Step-by-Step
Step 1: Remove the Existing Flooring
Before you can access the subfloor, take up the finished flooring (carpet, tile, hardwood, or laminate). Remove nails, staples, or adhesive residue so you can see the full subfloor surface.
Step 2: Inspect the Subfloor
Look for the areas that need to come out. If the whole subfloor is damaged or outdated, youll remove all of it. But if damage is localized, you may be able to cut and replace only the affected sections.
Step 3: Locate and Mark the Joists
Use a tape measure to find the joists under the subfloor. Snap chalk lines over each joist youll want to cut the subfloor panels so they end at the center of a joist, which ensures proper support when reinstalling.
Step 4: Cut the Subfloor Panels
Set your circular saw blade to the thickness of the subfloor usually 3/4 inch. Carefully cut along your chalk lines, making sure not to cut into the joists, pipes, or wiring beneath.
Step 5: Pry Up the Subfloor
Use a pry bar or crowbar to lift the cut pieces of subfloor. Start at one corner or edge and work your way across. For stubborn nails, use a claw hammer or nail puller to remove them as you go.
Step 6: Clear Debris and Inspect Joists
Once the old subfloor is out, sweep the area clean. Check the joists for rot, mold, or damage repair or replace any compromised joists before installing the new subfloor.
Tips for a Successful Subfloor Removal
-
Work in manageable sections to avoid damaging surrounding materials.
-
Wear safety gear cutting and prying subfloor creates a lot of dust and splinters.
-
Take care not to damage walls, cabinets, or fixtures around the edges.
-
If youre unsure about structural integrity or discover extensive damage, consult a professional before proceeding.
When to Call a Professional
If your subfloor removal involves large areas, structural repairs, or you find signs of serious mold or pest infestation, hiring a professional contractor is usually worth it. They have the expertise and tools to do the job quickly and safely.
Final Thoughts
Learning how to remove subfloor is an important skill for any serious DIY homeowner. With the right tools, preparation, and safety precautions, you can handle this project yourself and save money in the process.
Replacing a damaged or uneven subfloor is a smart investment that ensures your new flooring will look beautiful and perform well for years to come. Take your time, follow the steps carefully, and dont hesitate to get professional help if needed.


![Play99 Login & Registration Guide for Indian Users [2025 Update]](https://www.atlantanewsplus.com/uploads/images/202507/image_140x98_6870c1df7bfcd.jpg)